Profiles
Below you will find the steps to follow to create and manage a Profile in the Profiles section. This procedure will allow you to customize the appearance of your routes, by setting the images, texts, colors, and much more.
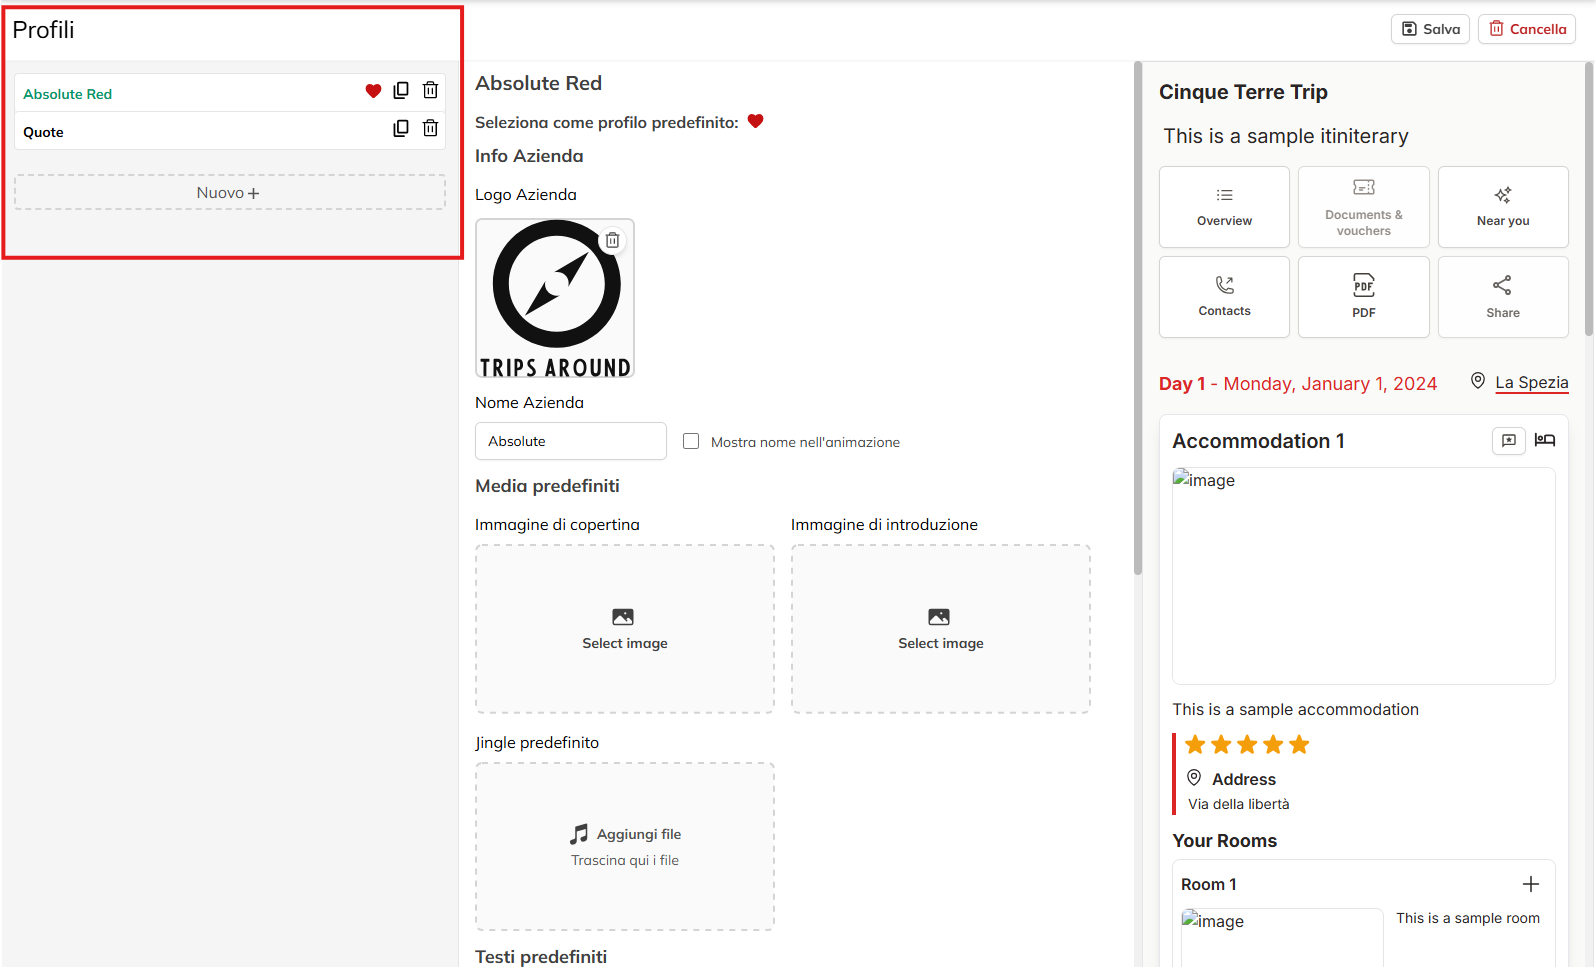
Create or select a Profile
Click on the button “New +” (in left sidebar) to generate a new profile.
If you want to change a profile already created, click on the corresponding name in the list to the left.
In automatic, it will open the configuration section in the center.
Configure the Company Information
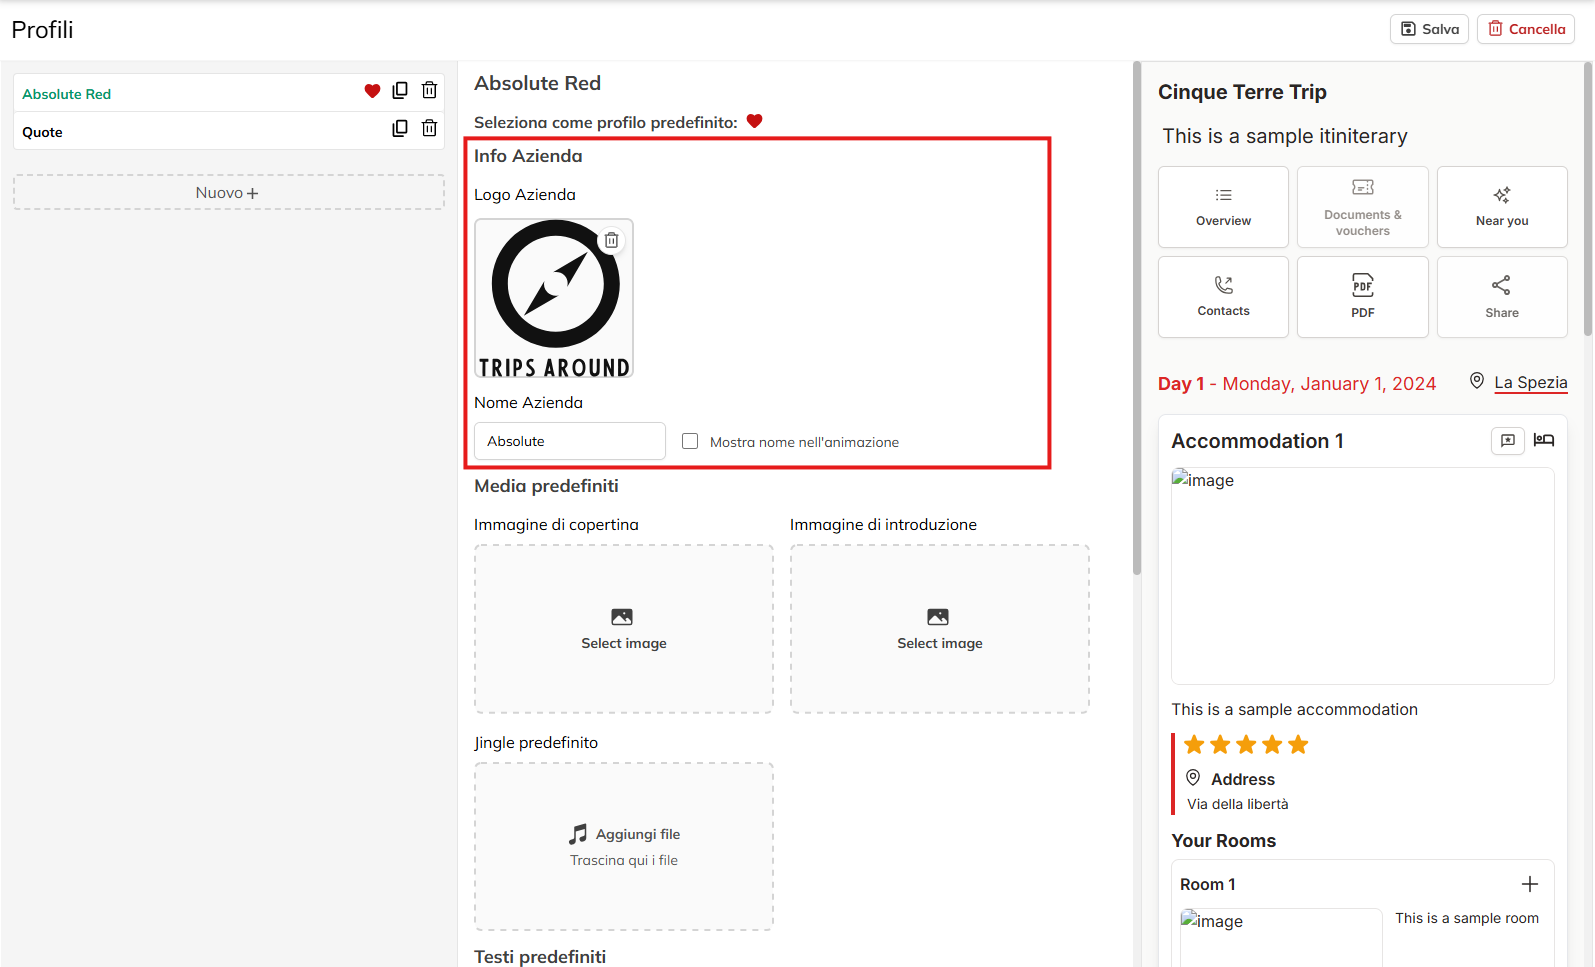
Company Logo: Upload the image of your logo, respecting the format and size recommended by the platform.
Company name: Enter the name that you want to show while navigating.
Display option: Select or deselect the box for “Show on home screen” to decide whether to display the name in animation or less.
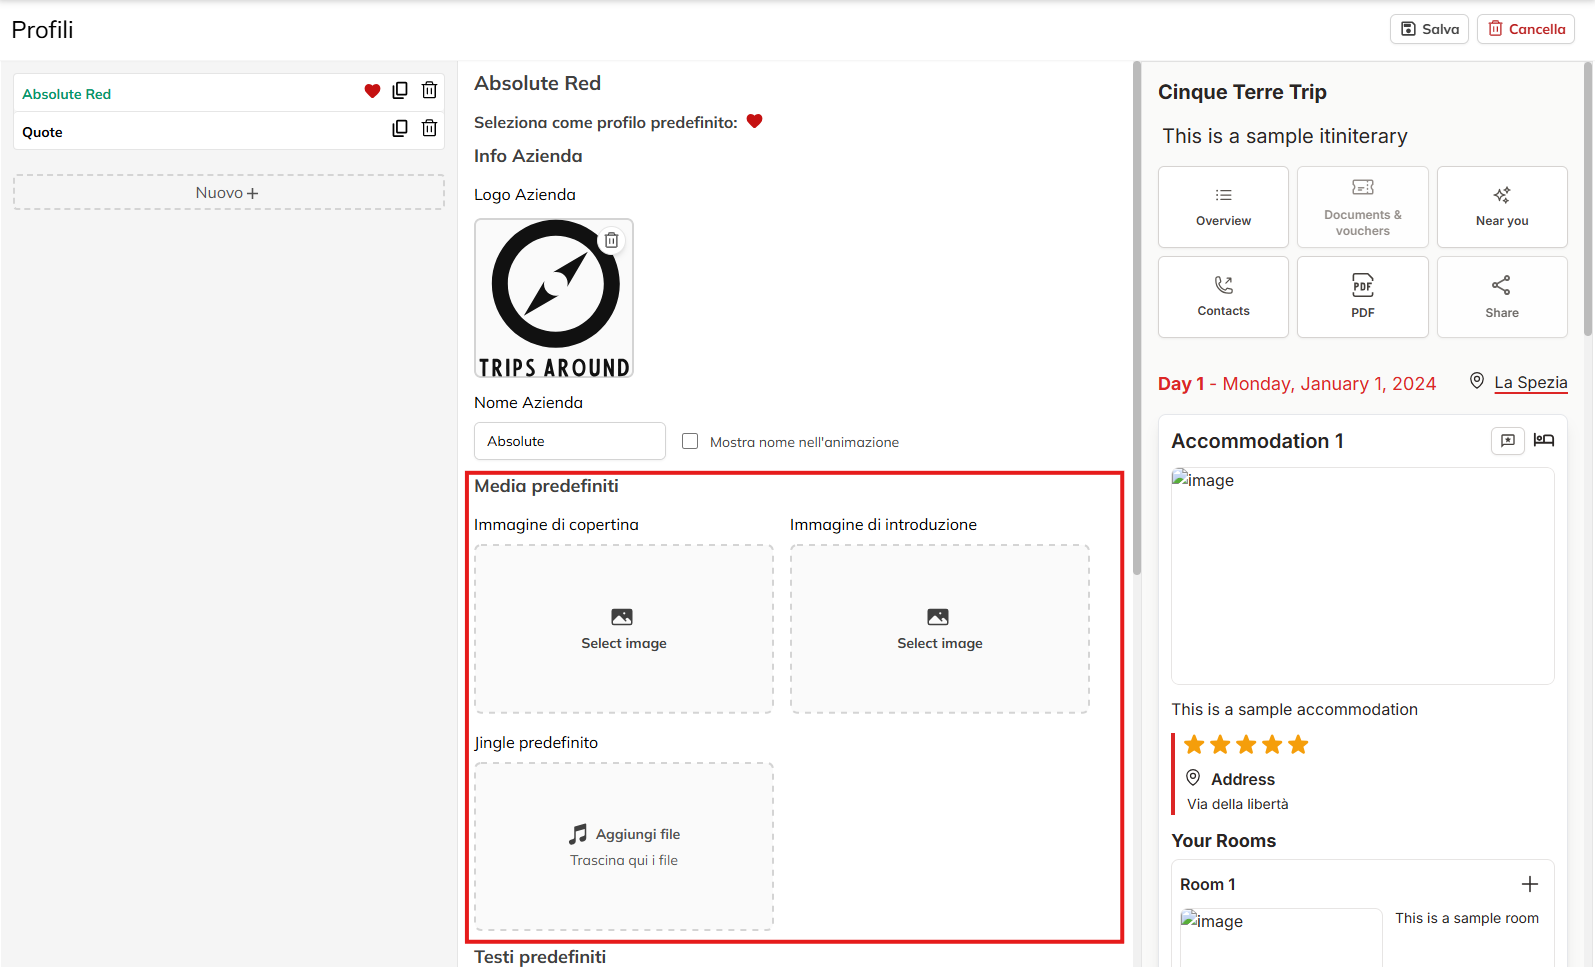
Set the Media to the Default
Choose an image dedicated to introduce your itinerary or your brand.
Jingle default (if available)
Upload a short audio or select a file that already exists in the platform to accommodate the user with a custom sound.
Default text for the Customer
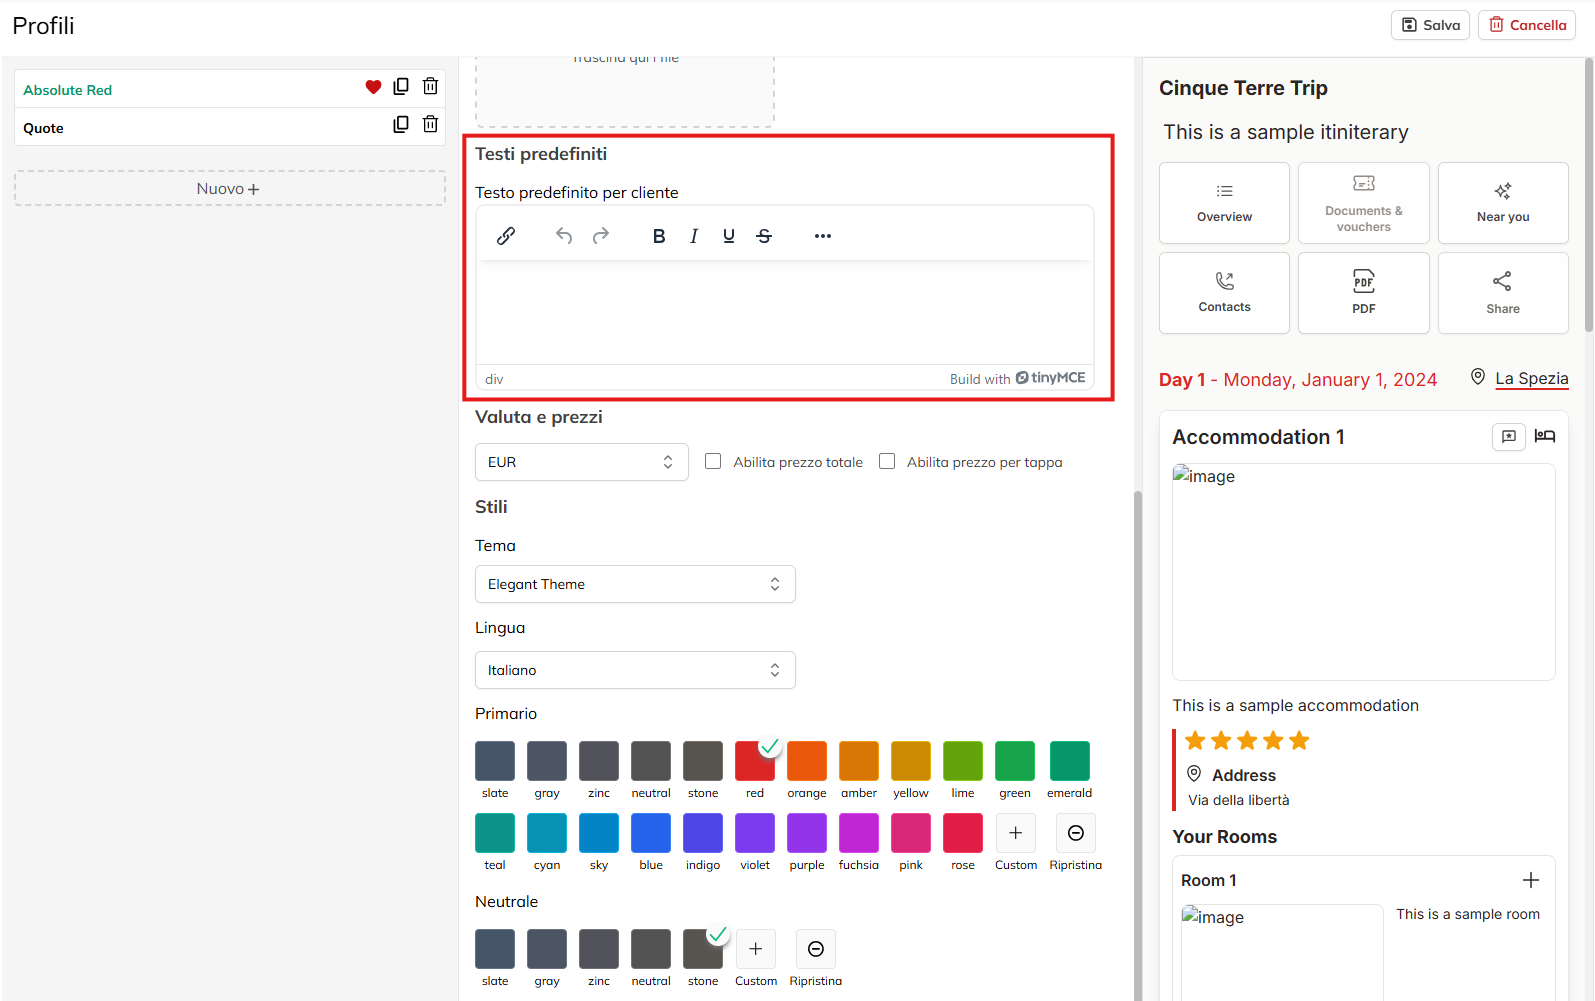
Add titles, bullets, or other elements of style to make the text more clear and pleasant.
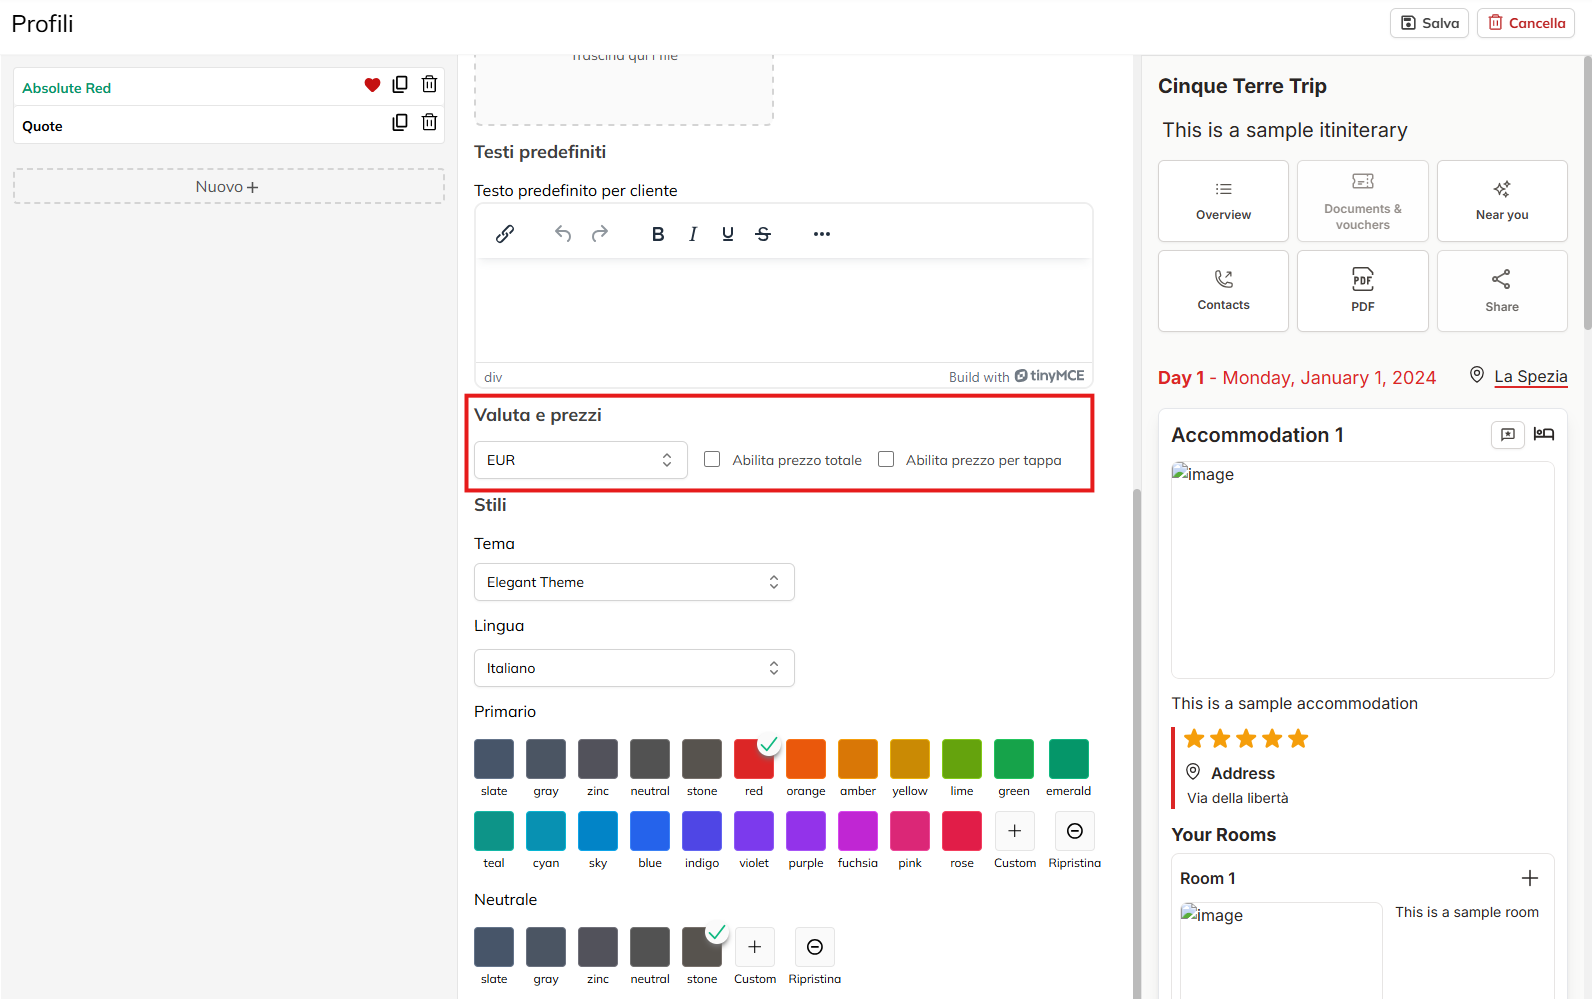
Configure the Currency and Prices
You decide whether to show the total price of the trip, and/or single stage.
Choose Styles and Language
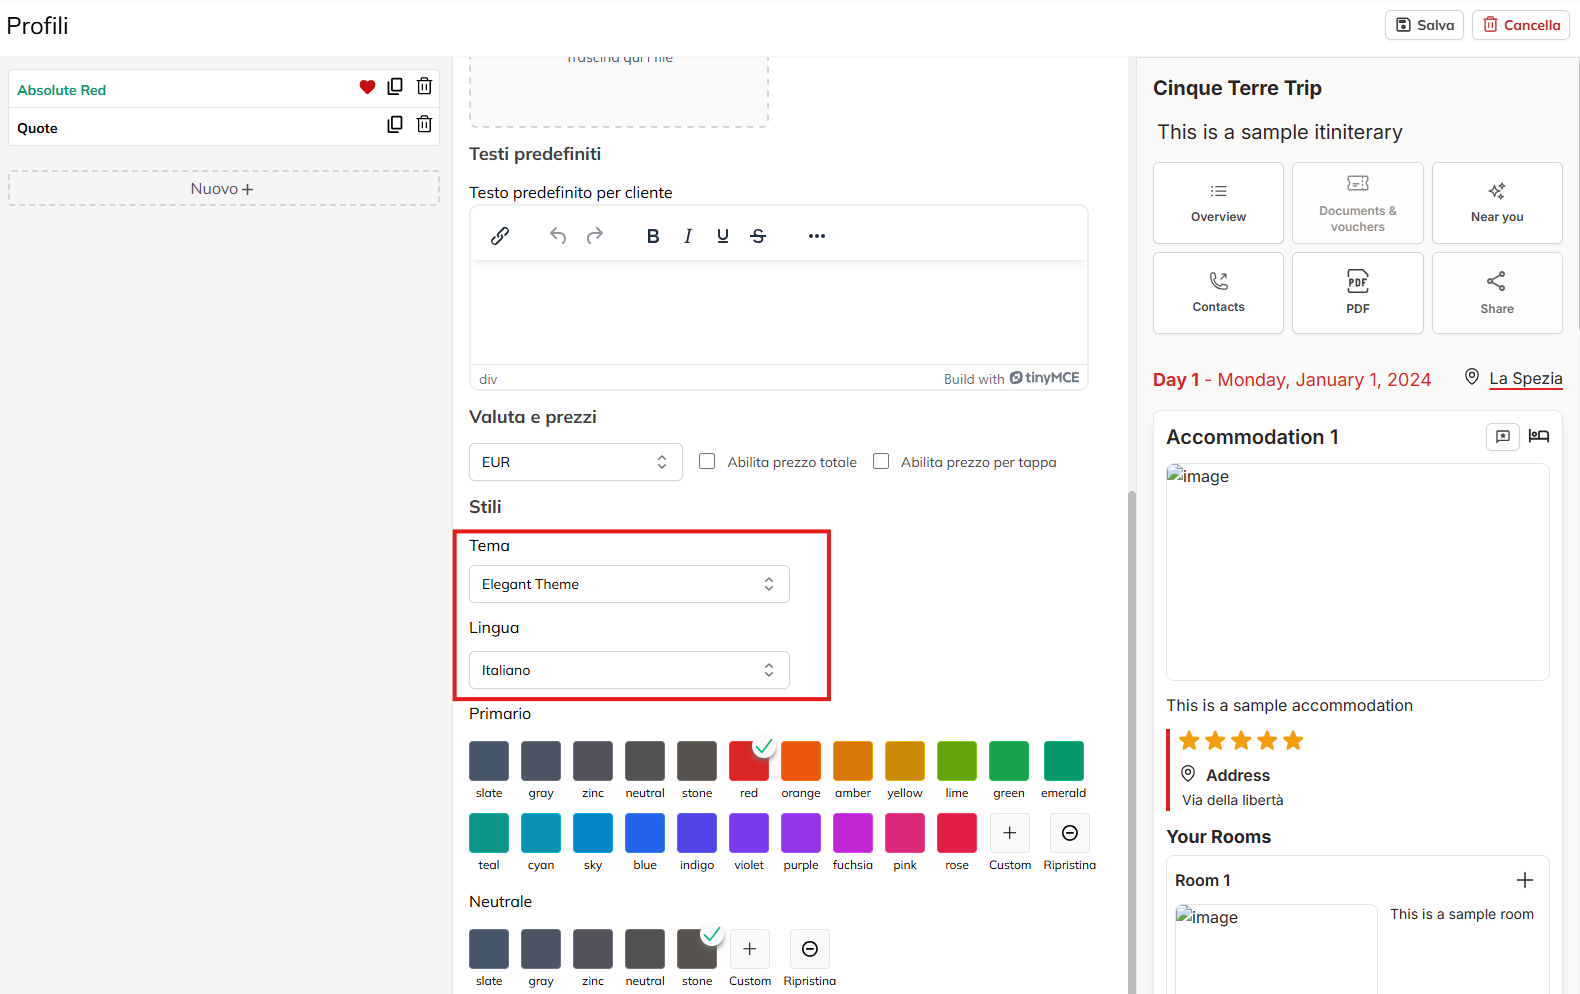
From the menu corresponding to the Theme, select a preset style.
Next, choose the default language that will be used by the route (for example, Italian, English, etc).
You also choose the colors Primary , used for titles, buttons and edges, and the secondary used for texts for secondary and backgrounds according to the theme set.
Select the color among those already present or created in a palette of custom colors that you prefer by clicking on the button.
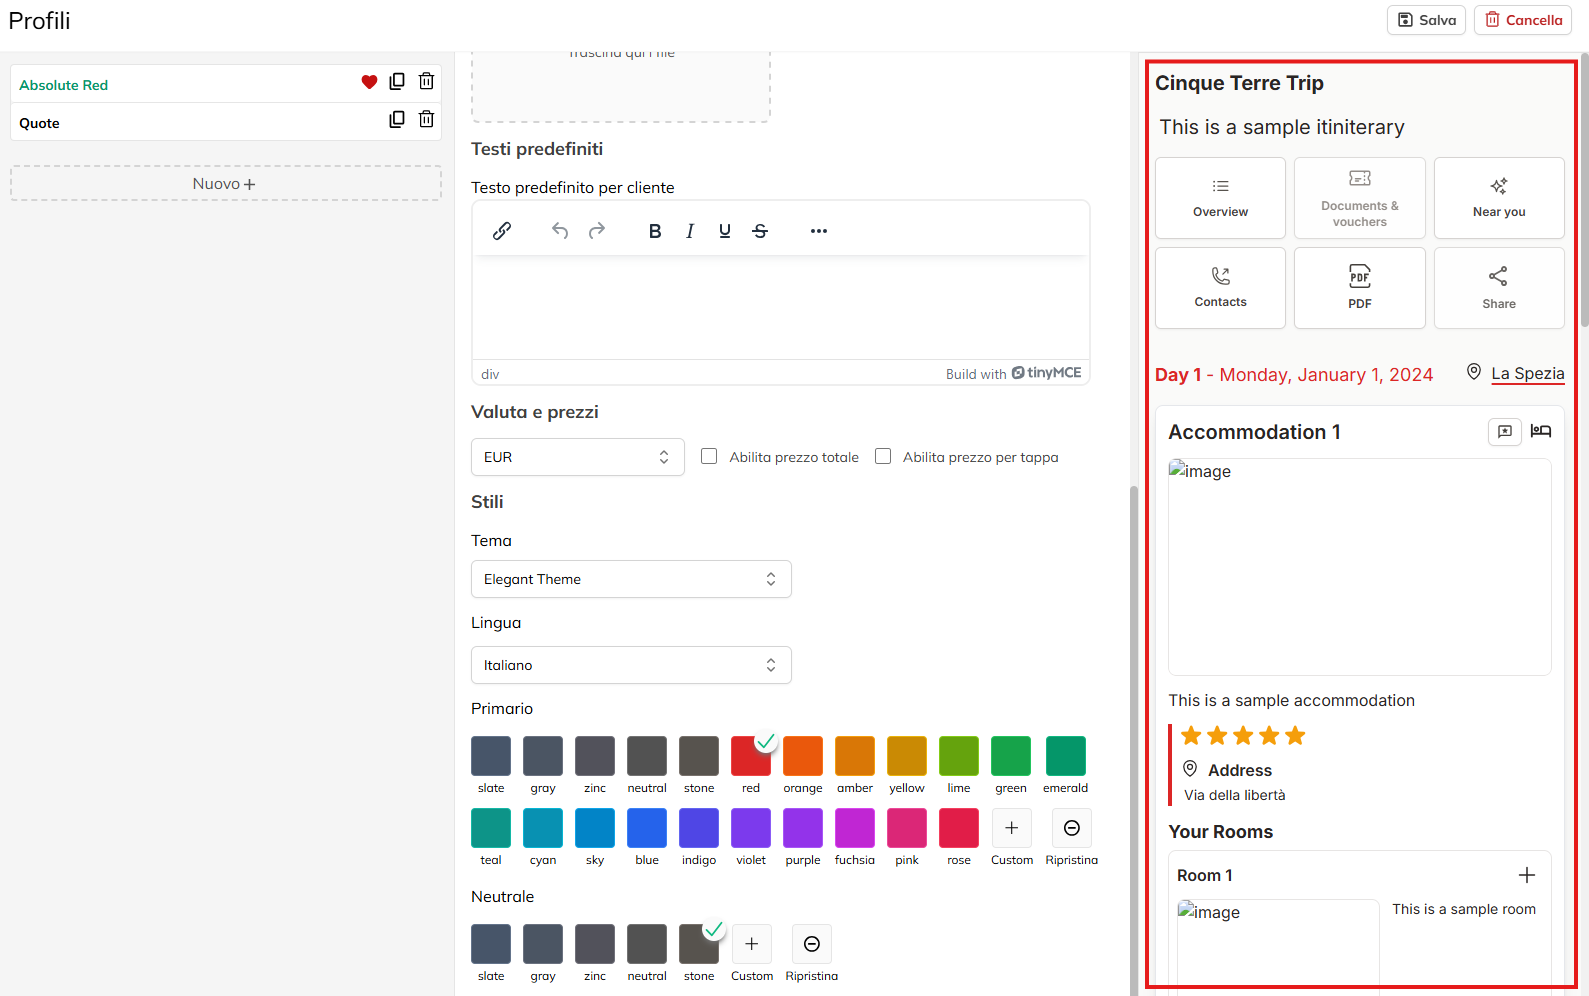
Preview and Final Control
Shows you a glimpse of the route with the navigation buttons (Overview, Documents & vouchers, etc), the rating stars and the cards from day to day (Day 1, Accommodation, 1, etc).